
Have you ever looked at your garden after a day of hedging and found yourself dreading the cleanup? Whether it’s the scattered leaves, the twigs littering your lawn, or the hedge trimmings floating in your pool, the aftermath can seem daunting.
This guide is designed to introduce you to efficient cleanup techniques after hedging that I’ve learnt from over a decade in professional garden maintenance. These techniques will give you a neater finish and save you time, so that you can spend more time drinking tea and eating cheese and bikkies in your garden, instead of cleaning it.
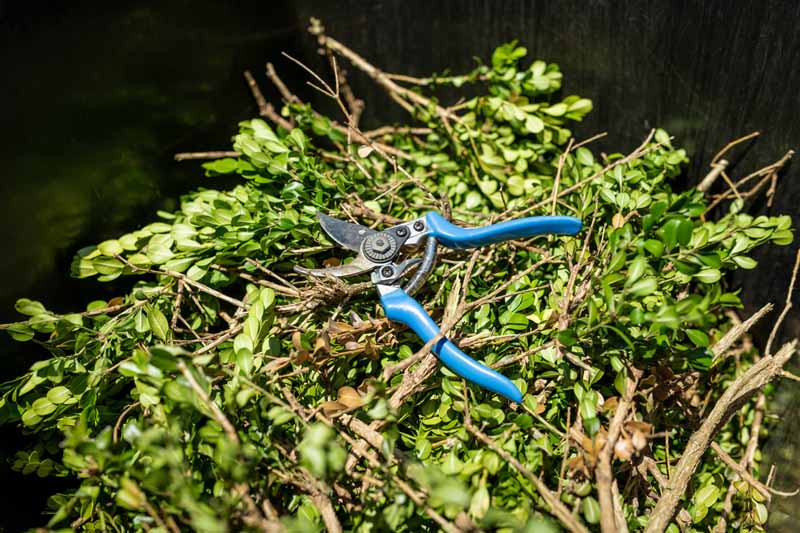
These buxus trimmings are collected, and ready for the compost bin.
The Preliminaries: Preparation Before You Begin
Choosing the Right Time and Tools
The adage “prevention is better than cure” holds true in the context of trimming and pruning. Selecting the optimal conditions for hedging can significantly minimise the effort required during cleanup. It’s best to avoid wet conditions as damp leaves and twigs are harder to gather and can clog up tools, and windy days cause debris to blow around which takes longer to clean up. Early morning or late afternoon, when the weather is cooler, makes for an ideal time to prune without stressing plants, especially during the warmer months.
An efficient hedging and cleanup process relies heavily on having the right tools at hand. A good tool kit includes:
-
- Hedge trimmer (corded electric, battery-powered or petrol-powered depending on the size of your hedge)
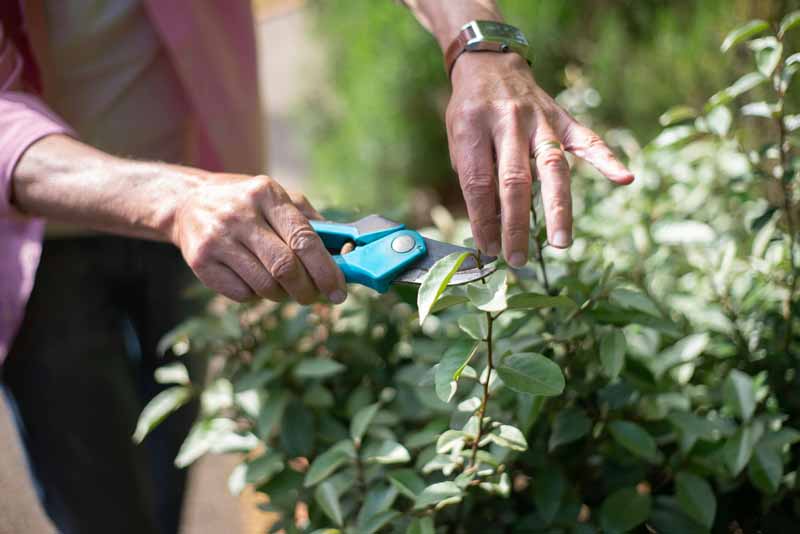
- Pruning shears for a human-powered alternative to mechanical trimmers
- Secateurs and snips for detailed work
- A sturdy rake (metal for large piles, plastic for smaller piles and for use on hardscapes)
- Groundsheets or tarps
- Wheelbarrow or medium-sized bins for debris transport
- Compost bins or green waste bags for disposal
- A broom, dustpan and brush
- Leaf blower for the final cleanup
Head into your local hardware store and view their range of tools, paying special attention to the rake sections as there are a lot of options out there. Here’s a preview from Bunnings. Image source:

https://www.shutterstock.com/image-photo/sydney-australia-20230122-shelves-bunnings-warehouse-2335671959
Laying the Groundwork
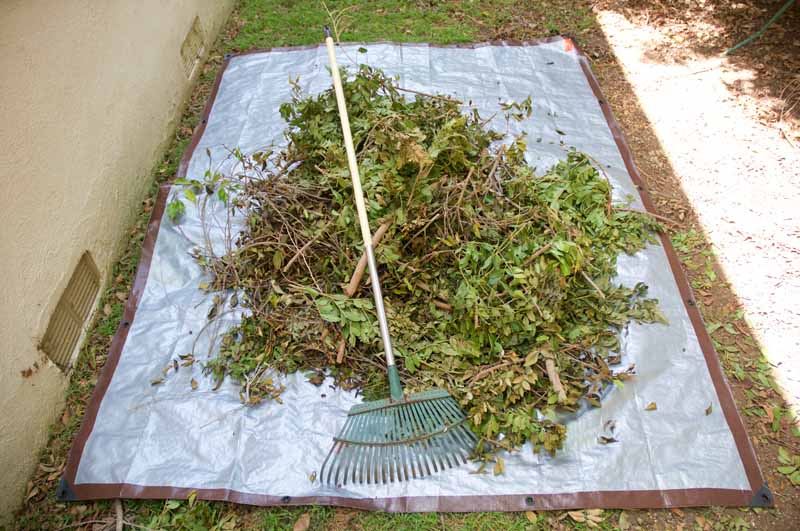
Laying down tarps or groundsheets before you begin trimming can save you a significant amount of cleanup time. This is particularly beneficial around pools and water features, where removing debris from water can be especially troublesome. Position these tarps strategically to catch the majority of the trimmings.
Having a tarp below your hedge is easy to clean up – simply pull the corners together, then drag the tarp and debris to the disposal point. If there are lots of trimmings, consider engaging another person to help drag it or alternatively, use several smaller tarps. Be careful around other plants in the garden to ensure you don’t damage them.
For the rest of this article, we will assume you’re not using a tarp and are removing debris from a garden bed, footpath, driveway, or turfed area.
Debris that falls onto a tarp is easy to collect, reducing much of your work. However, they can be fiddly and some people prefer to work without them.
The Art of Systematic Trimming
Techniques for Efficient Cutting
Trimming hedges methodically not only ensures a uniform appearance but also reduces cleanup time and effort. Start from the bottom and work your way up, moving systematically along the hedge. This technique allows you to manage the direction in which the trimmings fall.
Run your hand over the top of the hedge to dislodge debris from the plant, after which a secondary prune may be required to trim stems that pop up.
Minimising Debris Scatter
To keep trimming scatter to a minimum, avoid pruning on windy days. If it can’t be delayed, regularly pausing to gather trimmings from the tarp and dispose of them can prevent them from being scattered by the wind.
The Cleanup Process
Raking and Collecting Debris
Once the trimming is complete, the next step involves raking debris into a pile. Keep a bin or wheelbarrow close by to save time walking back and forth. For tight spaces where a rake won’t reach, smaller hand-held tools or even a leaf blower with a feather touch on the trigger can be effective in gathering the remaining debris.
Just be aware that blowers can cause more work than they save in the hands of an unskilled gardener. They can blow mulch around or pile debris against plant stems which can encourage fungal issues.
Fertilising and Mulching Post-Trimming
After the area is cleared of debris, applying fertiliser around the base of your hedges can promote healthy growth. Following this with a layer of mulch (if required) will help retain soil moisture and suppress weeds. However, ensure the mulch is not piled against the stems of the plants as this can lead to rot and disease.
Applying mulch in a donut shape around the base, leaving some space around the stem, promotes plant health and reduces maintenance needs.
If you’re going to apply mulch anyway, a good hack is to simply pile mulch on top of trimmings – it’s going to cover the debris so why remove it? Just keep in mind that if there’s a lot of debris, chances are you’re going to see dry leaves pop up over time. This is more of a trick for smaller amounts of debris.
Disposal and Environmental Considerations
Composting and the Green Bin Option
Composting hedge trimmings transforms what could be waste into a valuable resource, enriching the soil and promoting healthier plant growth. For those without the space or means to compost at home, using your council’s green bin service is an effective alternative. These services ensure that your garden waste is composted on a larger scale, contributing to community green initiatives.
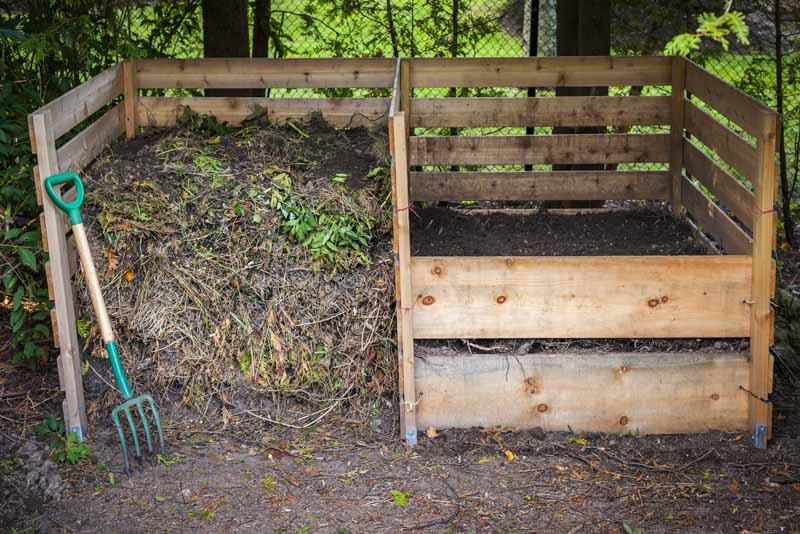
Composting isn’t rocket science. This two-bay system allows you to pile fresh trimmings into one bay, while the compost in the older bay is ready to be used. Eventually, the bay functions will be swapped once the one on the right runs out of compost, and the one on the left has matured.
The “Chop and Drop” Method in Permaculture
The “chop and drop” method, a cornerstone technique in permaculture, offers an innovative approach to mulching and soil enrichment. By simply chopping the hedge trimmings and dropping them at the base of plants, you can create a natural mulch layer that conserves moisture, suppresses weeds, and gradually decomposes to add nutrients back into the soil.
While this method may not provide the manicured appearance of traditional mulch, its benefits for soil health and ecosystem support are worth considering. It’s an excellent choice for gardeners looking to mimic natural processes and support biodiversity on a budget.
Finishing Touches
Using a Broom or Leaf Blower (also known as a vacuum blower)
Using a broom on concrete and bitumen can remove most of the finer particles left behind by a rake. However, it won’t remove it all. A dustpan and brush can help get the final bits but will take longer than blowing the debris away.
An electric corded, battery-powered or petrol-powered blower can achieve a finer finish without any debris at all (on a dry, low-wind day). However, they can cause more work in the hands of someone that isn’t competent in their use as they can blow debris where it’s unwanted.
Some blowers on the market have a reverse function and can suck debris into an attached bag. These can be great, but it depends on your personal taste. I prefer to use a rake, a bin, and a regular battery or petrol-powered blower.
Tool Maintenance and Care
Ensuring Longevity of Hedging Tools
To ensure that your hedging tools remain in optimal condition for future use, regular cleaning and maintenance are essential. After each use, clean the blades with soapy water to remove sap and debris, then dry thoroughly to prevent rust. Applying a light oil to the blades can help protect them further. Sharpening the blades periodically ensures clean cuts that are healthier for plants. Storing tools in a dry, protected space will prolong their life and maintain their effectiveness for your gardening needs.
Choosing Plants with Maintenance in Mind
Selecting Low-Maintenance Hedges
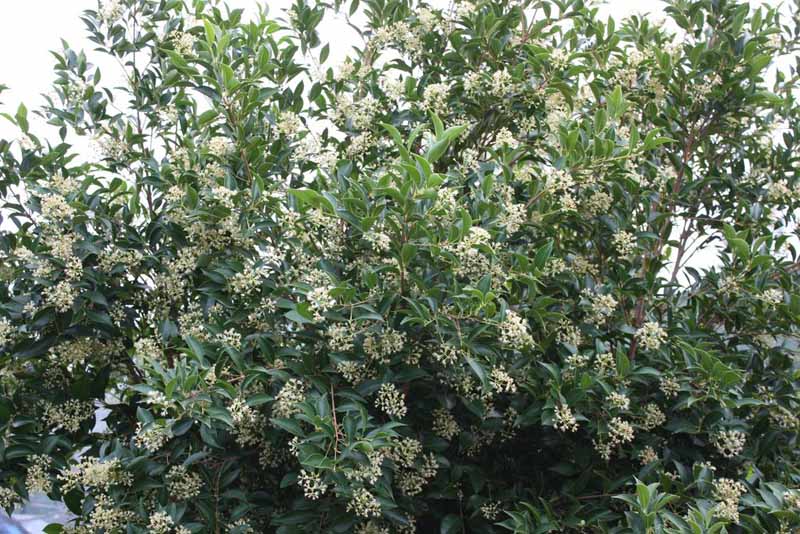
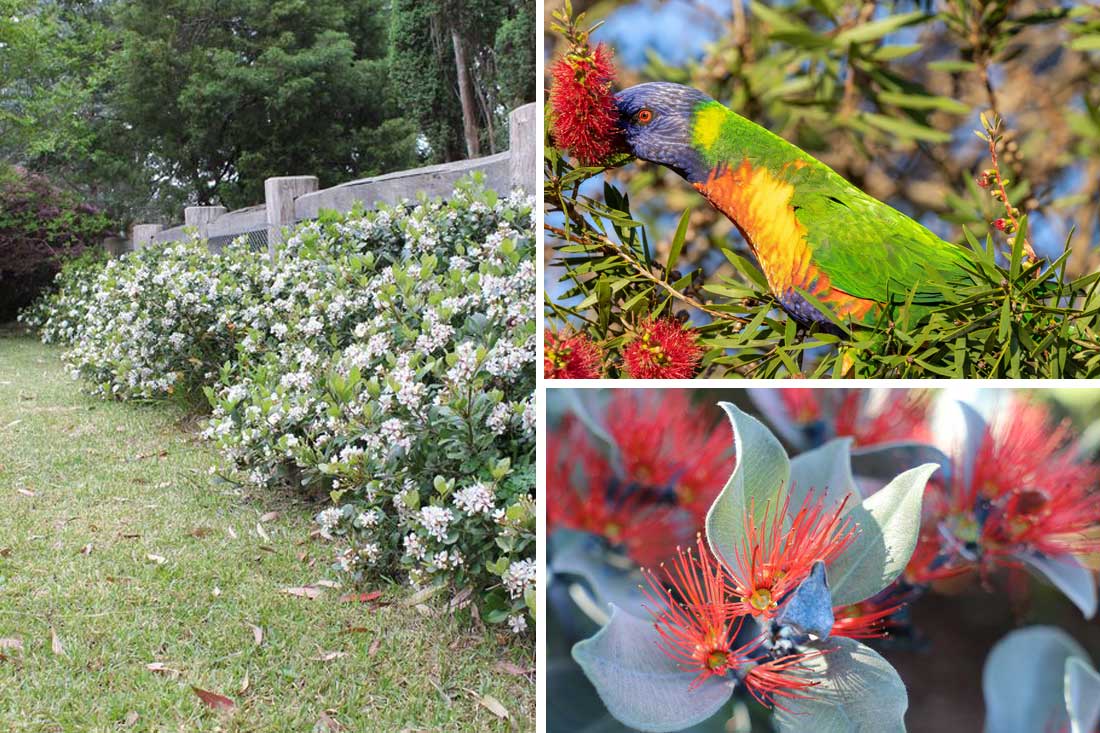
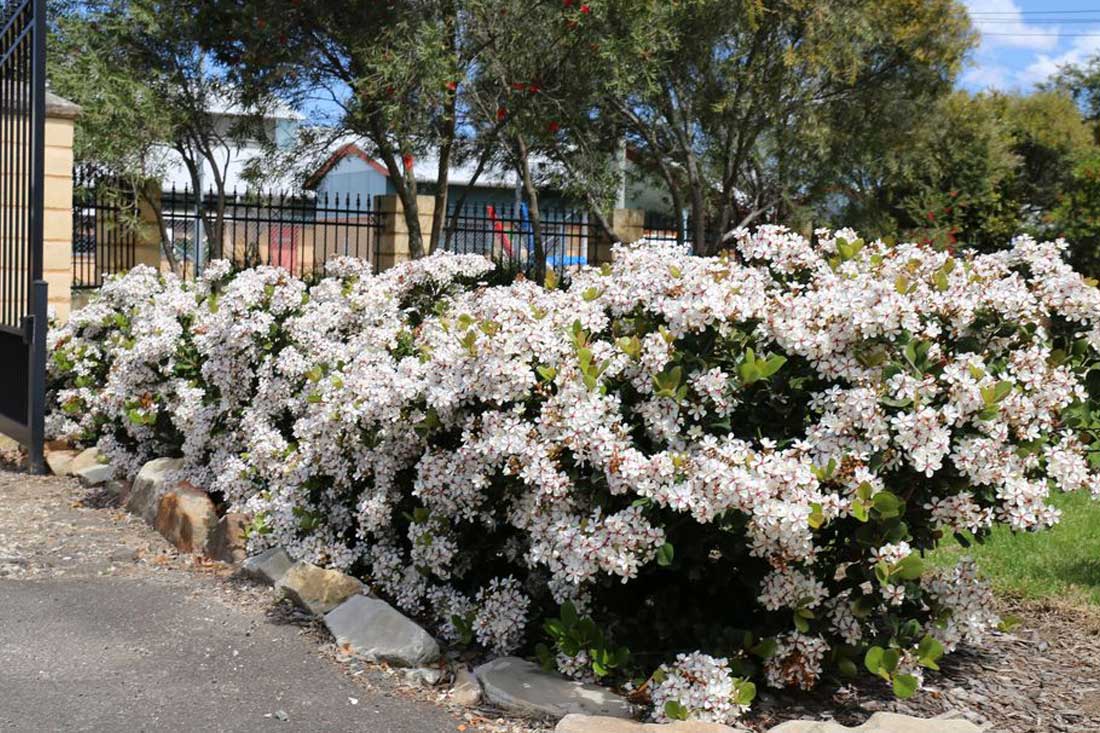
Choosing the right plants for your hedges can significantly reduce maintenance efforts. Opt for species that are well-suited to your climate and soil type to ensure vigorous growth with minimal intervention. Varieties like Better John Callistemon and Grey Box Westringia are popular for their adaptability and ease of care. They’re also resilient against many pests and diseases that other hedge plants are susceptible to.
Understanding Plant Growth Patterns
A thorough understanding of the growth patterns of your chosen hedge plants can greatly influence their maintenance and trimming frequency. Fast-growing species may offer quick privacy but will require more frequent trimming to maintain shape and density. Conversely, slower-growing species might take longer to establish but will need less frequent attention. Familiarising yourself with the growth habits of different species allows for better planning and can lead to more efficient garden management.
Conclusion
This guide has explored key aspects of proper cleanup after hedging, from environmentally friendly disposal methods to tips and tricks that can minimise cleanup efforts. By applying these techniques, gardeners can enhance their hedging cleanup process and overall garden maintenance, saving time while offering a better finish.
Happy gardening!
