
Have you just planted a few shrubs, and now you need to figure out how to grow them into a nice, lush, hedge? Perhaps you’re getting impatient with the small plants, silently willing them to grow, grow, grow?
If so, you’re in the right place. There are a few tips and tricks to getting those unconnected plants to become a lovely formal hedge for screening or topiary.
This article will guide you through the essential steps to achieve a thick, bushy hedge, drawing on my expertise of over a decade in maintenance horticulture as well as industry best practice.
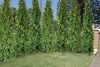
These lilly pillies are perfect for taller hedges with tight space, because they put all of their energy into growing tall instead of wide. Simply plant them close together and watch them go straight up! Straight and Narrow™ Syzygium australe‘SAN01’ PBR Intended.
Choosing the Right Hedge Plant for the Right Place, for the Right Reason
Before we go on, we need to make sure that you have the right plant in the right place for the right reason. Is your plant receiving everything it needs to be healthy?
Does it grow to the size you want it to grow to?
Does it grow too big, and you’ll be pruning it 6 or 7 times per year just to keep it down?
Would you like a plant that grows quickly and fills in the space and will need a lot of pruning once it’s fully grown, or a slow-grower that takes longer to get to size, but will need less ongoing pruning?
Understanding Plant Spread
When planting a new hedge, it’s important to consider the mature spread of each plant. For example, a species with a 1.5m spread, positioning each specimen approximately 0.8-1.2m apart will ensure they grow to meet each other without overcrowding. This spacing encourages thick, bushy growth by providing each plant with enough room to develop fully.
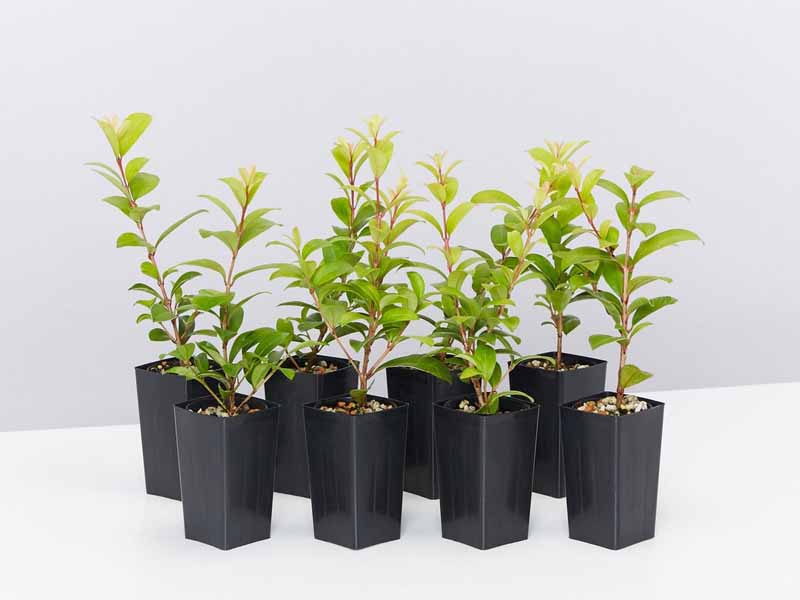
Buying Tubestock vs Larger Plants
Tubestock plants are juveniles grown in small pots, with their root system ready for planting. They’re cheap, but they’re usually around 5-15cm tall, so they won’t make much of an impression when you first plant them.
One trick is to over-plant tubestock plants so that the space seems more full after planting, and then selectively remove plants as they grow.
If you’d like a more immediate hedge-like appearance, you can opt for buying plants in larger pot sizes. You should understand that over the time frame of a few years, tubestock will often outgrow plants installed from larger pot sizes.
This is because generally, their roots are stunted from been trained in a pot. Choosing larger plants grown in “air-pruning” pots can help mitigate this by encouraging a much better root structure than traditional pots.
- This is what the Straight and Narrow Syzygium plants from above look like in tubestock form. Purchase some for yourself online now: https://www.plantsinshop.com/ozbreed-straight-and-narrow-syzygium-australe-plant-pack-hedging-plants/
Varieties Growth Habits.
Every plant has their own way of growing. Some plants respond really well to hedge pruning, and others don’t.
Sometimes, a cultivated variety will perform differently to the species it was bred from. Check your plant labels and do some Googling for as much info on variety as possible. Check info such as its mature size, soil preferences, moisture requirements, and sunlight preferences.
Consider whether you’d like a fast-growing variety that will reach its intended size quickly but will require lots of maintenance. Or, whether you’d prefer a slow-grower that will take longer to reach maturity but will require less pruning once mature.
You may have already purchased and installed your plants, and now you’re reading this, realising you’ve installed varieties that won’t thrive in your conditions. You may need to consider whether you can change the conditions to benefit your plants, or you may want to rip them out and plant something more suited to the space and your needs.
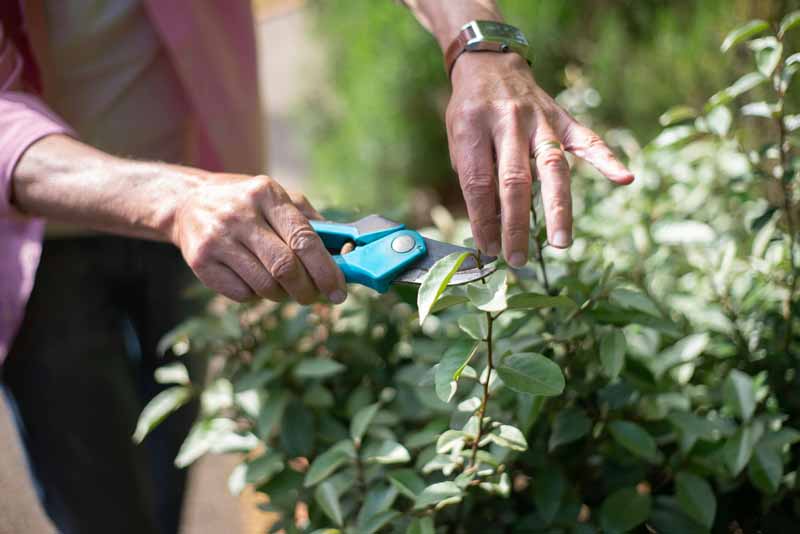
The Art of Tip Pruning
Encouraging Denser Foliage
Tip pruning, especially in the early years, can significantly impact a hedge’s density. By snipping off the growing tips of a branch (just above a leaf), you stimulate the plant to branch out sideways rather than upwards, promoting a fuller appearance.
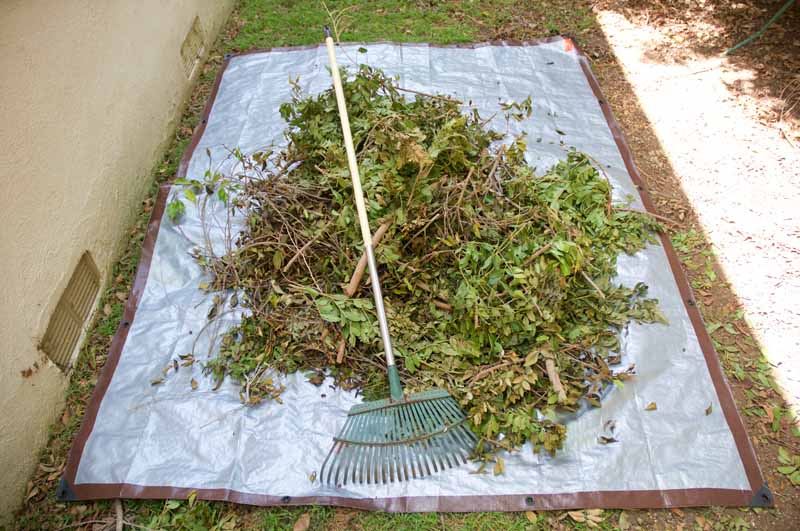
A tip prune can be done with a sharp, clean pair of secateurs, but you can also just pluck the very tip of each stem with your fingernails as you walk past.
Prune the tips before the branch reaches the desired size so the bushiness occurs quickly.
But wait! Before you rush into tip pruning too often, understand that every time you do so, you make the plant bushier. Too much tip pruning done too early can cause a plant to have a lot of messy branches inside the structure once it grows to its full size.
Sometimes, you’re better off letting the plant grow for a while before you start training it. Unfortunately, I can’t give an exact time for you to start pruning because that depends on the end goals for your plant (whether you want it to be a tall screen, or the shape of a small rabbit), and the growth habit and rate of the specific plant variety.
If you’re new to pruning, simply enjoy the process and learn from the growth that results from every cut that you make over the coming months and years.
Prune branch tips just above a leaf to encourage bushier growth.
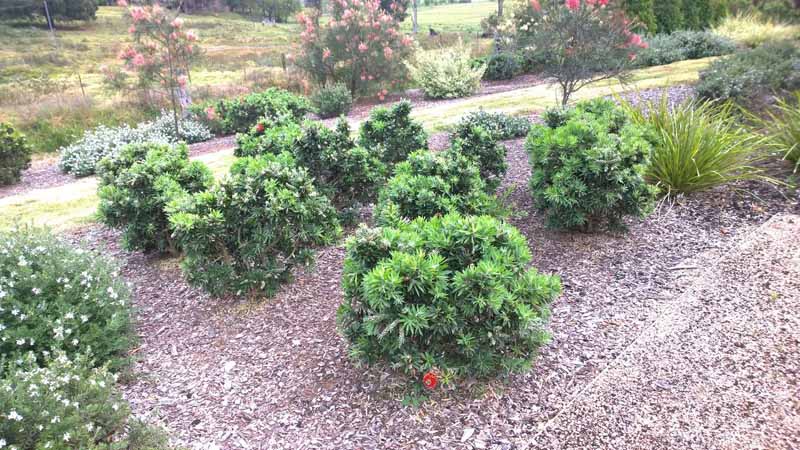
Regular Pruning: Key to Vigorous Growth
Benefits of Regular Pruning
Regular maintenance pruning prevents hedges from becoming overgrown and ensures foliage remains dense where it’s most desired. Every time you prune the tip of a branch, it encourages lateral shoots to grow off that branch. Over time, this creates a thick hedge.
Preventing Overgrowth
If you allow the plant to become overgrown, it may lose foliage where you want it most due to a phenomenon known as “phototropism”. As the branches grow outward, they drop leaves behind that can’t receive sunlight. Then when you prune them back to where they’re “supposed” to be, there’s a lot less foliage.
Meanwhile, regularly shearing the tips off branches will lead to tight branches and lots of foliage at the tips, without any foliage beneath the outer couple of cm. This won’t happen for a few years, after which time you can learn how to prune for reinvigoration, regeneration and rehabilitation.
Basically, you can reinvigorate an older hedge by selectively removing a few of the older branches within the centre of the plant to allow more sunlight into the middle of the plant.
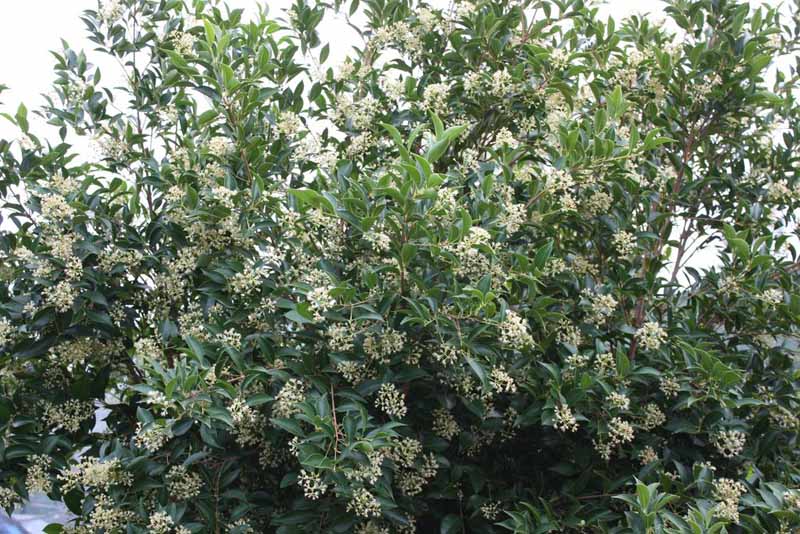
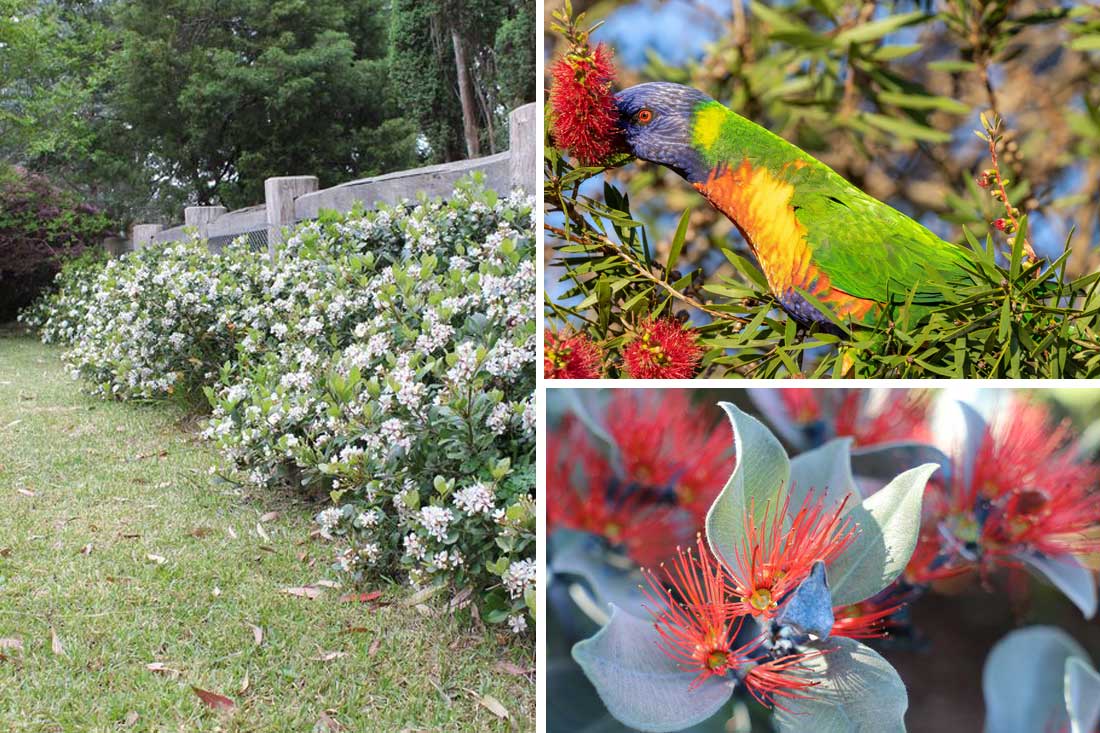
This hedge looks vibrant and healthy, with lots of foliage throughout. Green John™ Callistemon viminalis‘LJ23’ PBR.
Maintaining Plant Health for Bushiness
Sunlight, Soil Quality, and Moisture
A healthy hedge is a dense hedge. Ensuring your plants receive adequate sunlight, are planted in quality soil, and receive sufficient moisture is fundamental.
If your hedge isn’t receiving the optimal amount of sunlight, isn’t planted in the right kind of soil, and receives too much or too little moisture, it will never get the chance to express its best self.
Observe your garden, understand its conditions, and then match a plant that suits the space. Otherwise, it’ll always be on the back foot.
Fertilisation and Mulch
Regular fertilisation and the application of mulch can boost growth by providing essential nutrients and maintaining soil moisture levels.
Organic fertilisers like compost and manure help condition the soil as well as feeding the plant, so are generally better for your hedges than synthetic fertilisers. Put some in the hole during planting, and add some beneath the mulch at least once per year in early spring.
Fertilisers high in nitrogen encourage lots of green, new growth, however over-feeding can burn your plants and sometimes cause weak growth. Every plant will have its own needs, but most species (including natives that aren’t in the Proteaeae family) are pretty resilient to varied nutrients.
Just make sure all plants are receiving similar nutrition so that some plants don’t grow more quickly than others.
At Ozbreed, we usually recommend chunky mulches. These often allow greater water penetration into the soil, while mulches with fine particles may block water or encourage the stem to rot more readily when piled around stems.
Pest and Disease Management
Keeping pests and diseases at bay is crucial for maintaining the health and density of your hedge. Small outbreaks are part of a healthy garden, but when left untreated, pests and diseases can slow down growth or even kill your hedge.
Regular inspections and appropriate treatments will protect your plants. Learn about integrated pest management (IPM) and use nature’s tools for your benefit.
Catering to Specific Plant Needs
Specific Requirements
While there are general practices that apply to most hedges, it’s important to cater to the specific needs of your chosen plants. Understanding the particular requirements of your hedge species will ensure optimal growth.
For example, some plants like westringias can tolerate coastal salt spray while others such as most callistemons can’t. A callistemon on the coast may suffer and therefore never become that lush, thick hedge you’re hoping for.
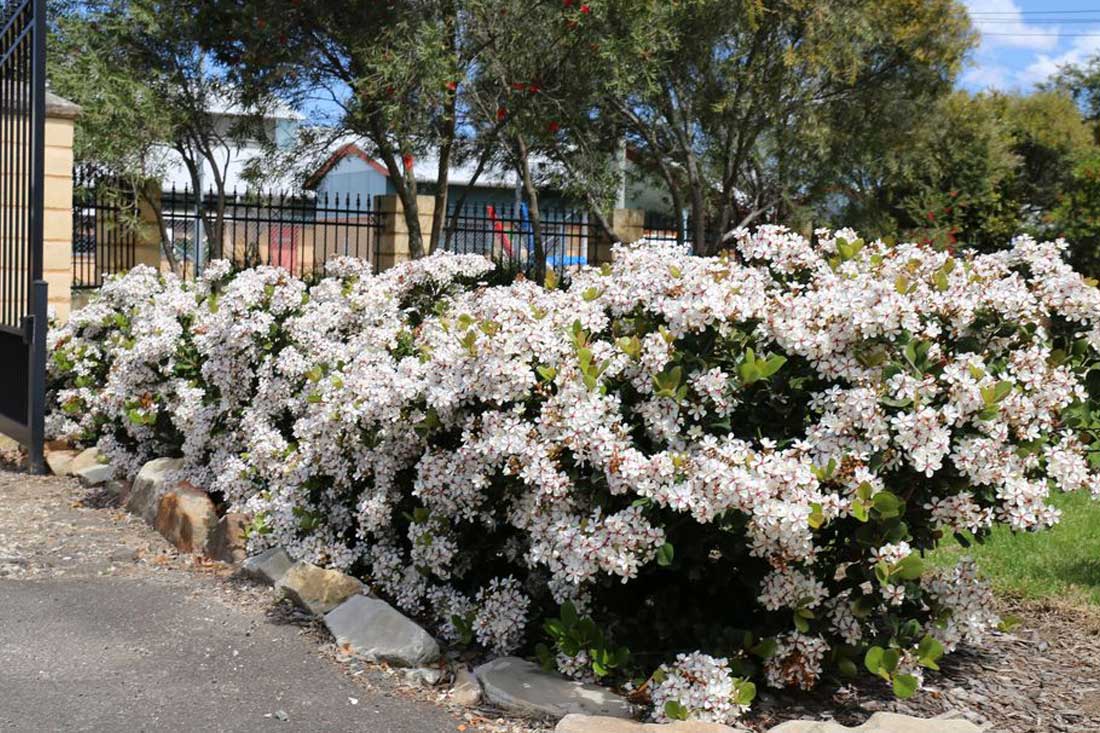
Pacing back and forth in front of your plants won’t help them grow. Distract yourself by mowing the lawn, hanging the laundry, or looking at new plants to buy online. This plant is another specimen of Green John Callistemon.
Conclusion
By adhering to these guidelines, you can significantly improve the thickness and health of your new hedge quickly. Remember, even though we can speed the process up, achieving a lush, dense hedge doesn’t happen overnight. It requires patience, care, and attention to detail.
Depending on the growth rate of your chosen variety and desired height, it could take anywhere from a couple of years to nearly a decade to reach the desired height.